Many musicians dream of having a home studio. It would give them the freedom to practice and record as they wish.
However, most people never take the leap. They don’t think it’s practical or believe they don’t have enough room or money.
The truth is that it’s very possible to build your own music studio even outside of your room in enclosed patio only if you have occupied it permanently. It’s easier than you might think. And, you don’t need a ton of money to do it.
This guide will give you some of the best tips for building a home music studio. So, if you’re ready to finally take the leap, let’s dive in.
1. Choose the Right Room
Start by choosing the right room.
Of course, the right room will be one that won’t miss having. A spare bedroom that no one uses, for instance, will work great. You might also consider using the garage, a tool shed in the backyard, etc.
Ideally, you should choose a room that has the following characteristics:
- Tile, hardwood, or concrete flooring (carpet isn’t ideal for acoustic treatment)
- High ceilings
- Large square footage
- Asymmetrical walls
We understand that you probably don’t have a room that matches this description perfectly. But, try to get as close as possible when choosing a room.
2. Instruments
Of course, you’ll need instruments for your music studio.
Instruments can be quite the investment. To make the most of your budget, start with only what you need.
That being said, don’t buy cheap instruments. According to the experts at DCP, your recordings will suffer if you use a cheap drum set, cymbals, etc.
3. Soundproof the Room
Once you have your room, you’ll want to soundproof it. Soundproofing makes for better recordings as it blocks outside noise. It will also help you be courteous to your family and neighbors.
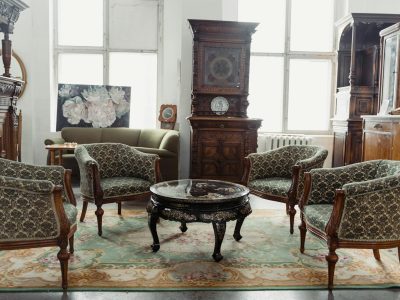
Luckily, there are inexpensive ways to soundproof the room. You can add area rugs, draperies, insulated curtains, look out for some soundproof gate ideas etc. Even upholstered furniture and plants will help insulate sound.
4. Add Acoustic Treatment
Though you might associate the two, soundproofing and acoustic treatment are different things.
Soundproofing reduces the amount of noise that goes in and out of the room. Acoustic treatment, on the other hand, controls internal sound reflections.
Acoustic treatment will make your recordings sound fuller, crisper, and overall better. Get started by adding acoustic panels, bass traps, and diffusers. These pieces of equipment are inexpensive and easy to install.
5. Recording Equipment
You’ll need some way to record your music. So, it’s time to invest in some recording equipment.
Like instruments, recording equipment can quickly become expensive. Stick to the basics in the beginning. You will likely need:
- High-quality mics
- Pop filters for mics
- Cables
- Monitors
- Headphones
- Monitors
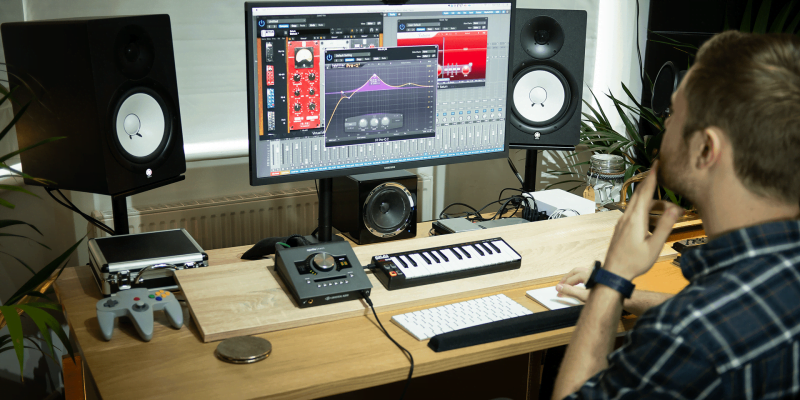
- Audio interface
- DAW
Note that an audio interface will allow you to record different instruments. It feeds into the DAW (Digital Audio Workstation). In the DAW, you can edit and produce your songs.
7. Setup
When you get all of your instruments and equipment, you don’t want to just toss them into the room.
You should strategically set everything up. This won’t just help your studio be organized. It will also make it easier to work and make your recordings sound better. Read more about the solo, dual, and hybrid setups here.
8. Add Finishing Touches
Last but not least, add the finishing touches. Decorate your music studio to reflect your unique style. Add lighting, seating, posters—you name it.
Bottom Line
With this guide, you can turn your dream of having your own music studio into a reality. Just make sure you buy high-quality instruments and soundproof the studio. Otherwise, you won’t get the best recordings and your efforts will be wasted.
Add personal touches while you set up the space, and soon you’ll have a home studio that’s unique to your style.









[…] like we wrote about in 8 Tips for Building a Home Music Studio, you need to soundproof your room – but this time so that sound can’t get in rather than […]