A pool is many things. A place to relax and spend time with family. A party venue. A great boon for your property value. Entertainment for the kids.
A pool is also a significant investment. An ordeal that requires careful planning and consideration. A lot of work and maintenance over time.
Here’s a guide on what to expect when embarking on the long journey of becoming a new pool owner.
How long does it take to build a pool from start to finish?
Great question. It depends on the type of pool.
You may laugh at that non-answer, but it’s the truth. The time is variable depending on the material. It could be anywhere from a week to several months.
Main types of pools and their time to be built
The three main construction materials for in-ground pools are vinyl, concrete, and fiberglass, each with their own pros and cons – including the time it takes to build.
Vinyl
The cheapest pool material is also the quickest to install, taking just a week or two from start to finish. Vinyl is a non-abrasive material that is far safer to accidentally swim into than a concrete pool. It’s also manufactured in factories so you’ll have to pick a pre-made shape for the liner.
Concrete
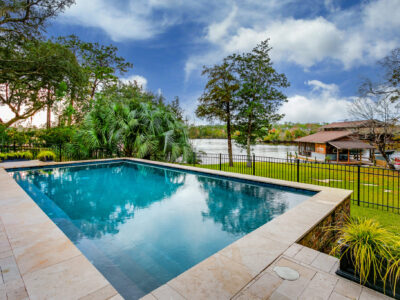
Concrete pools are the most expensive, but they’re extremely durable, requiring minimal maintenance over time. They’re also the most flexible when it comes to shape – they don’t come preassembled, so you have complete freedom over size and shape.
Because of the sturdiness and the fact that you need fresh concrete, the installation time is long: about 2-4 months from the time the laborers start digging to the time you take your first swim.
Fiberglass
For a best of both worlds option, look no further than fiberglass pools. They’re a great middle ground when it comes to price and durability. Be sure to find one with a lifetime warranty, that way you can get a replacement if the liner cracks.
As for installation time, you just need a couple of days for the pre-made liner to set, then you’re ready to swim in a week or two, much like vinyl pools.
Compare pool prices before starting your pool installation
Pools are expensive. Inground pools are very expensive. And yet, there’s still quite a bit of variation in price. Obviously, you’ll pay more for a bigger pool because that means more material. But here are the costs of the different inground pool types:
- Vinyl: $20,000 to $40,000
- Concrete: $50,000 to $100,000
- Fiberglass: $25,000 to $50,000
6 Steps you need to know before building your pool
Building a pool isn’t quite as simple as digging a hole and filling it with water. As much as I’m a proponent of DIY projects, this is something you really can’t do yourself. Here are the steps to building a pool and what to expect along the way:
Excavation process
This is the first step in building a pool. Excavation involves digging the hole where the pool will be located. The size and shape of the hole will depend on the design of the pool. The excavation process is typically done with heavy (read: not consumer-grade) equipment such as an excavator. It’s essential to hire a reliable excavation New Jersey service that can handle the excavation, grading, and earth-moving required to create a safe and stable foundation for your pool.
Steel installation and plumbing
After the hole has been dug, the steel installation and plumbing process begins. This involves placing a steel rebar framework inside the hole to provide structural support for the pool.
Plumbing pipes are also installed at this stage, which will be used to fill and drain the pool, as well as to connect the pool to the filtration system. In the US, your drainage system must be compliant with the Virginia Graeme Baker Pool and Spa Safety Act.
Seeking out circulation
Once the steel framework and plumbing are in place, the circulation system is installed. This includes the pool pump, filter, and other equipment that will keep the pool water clean and properly circulated.
Filling
If you have a vinyl or fiberglass pool, this is when the pre-built liner will be lowered into the hole. Alternatively, if you opt for a concrete or gunite pool, it’ll be filled with liquid concrete or gunite (a mixture of sand, cement, and water). Whatever material you choose, you’ll pour or place it onto the framework to form your pool shell.
Setting a tile flooring
Once your shell has been set, the tile flooring is installed. This involves setting tiles along the bottom and sides of the pool. The tiles are typically made of ceramic, porcelain, or glass – a smooth material so that you’re not forced to step on rough concrete – and they’re available in a variety of colors and designs.
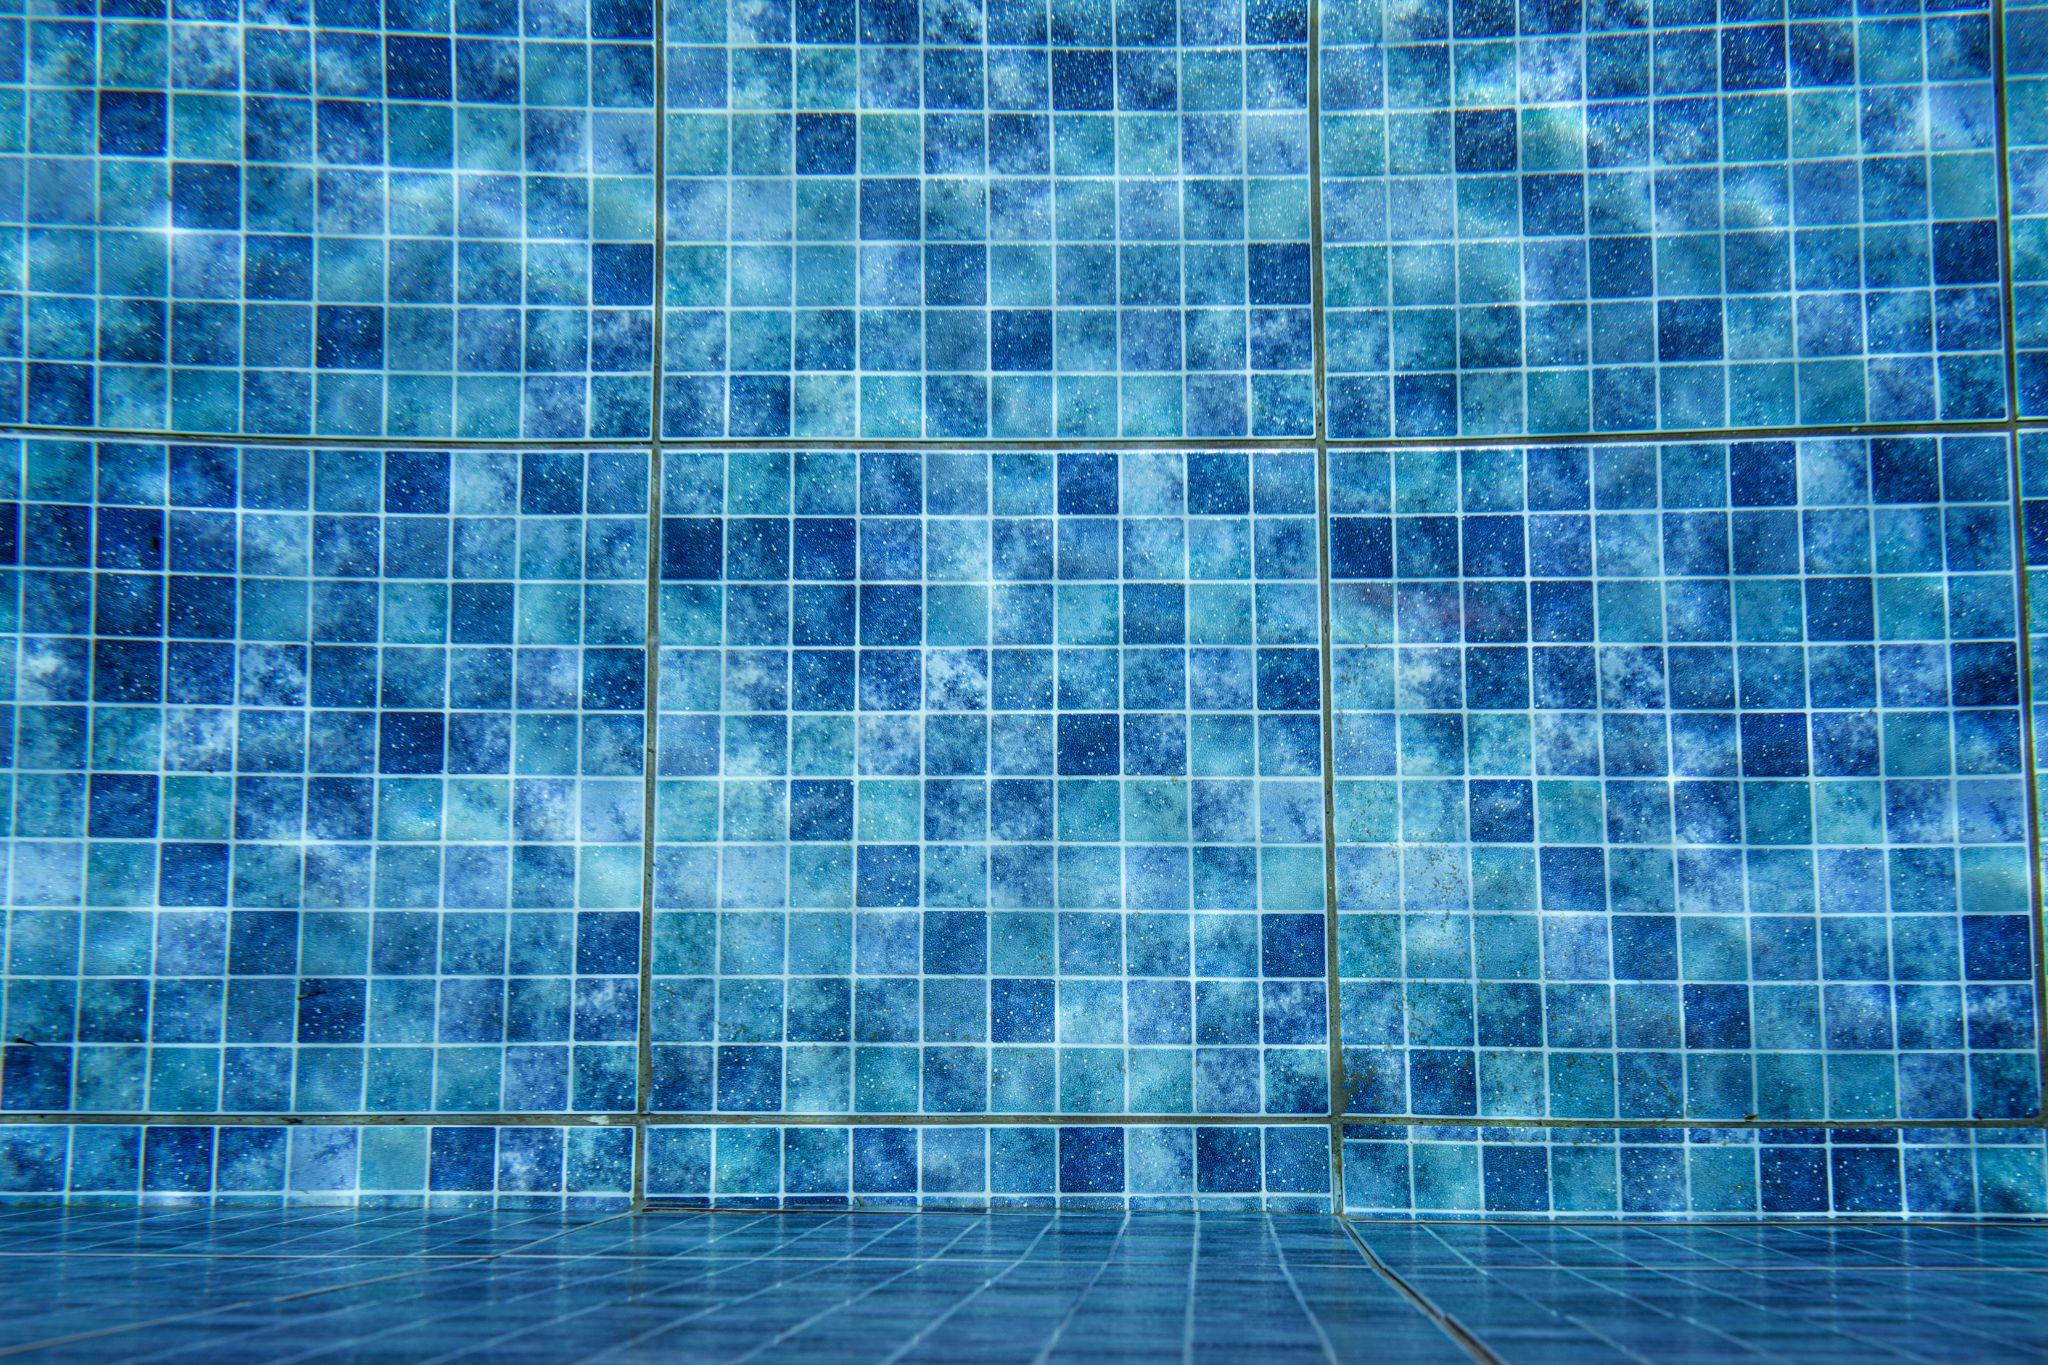
Note: A vinyl or fiberglass pool won’t follow this step because the shells are manufactured offsite. The surface of the shell is already smooth, so additional tiling isn’t necessary.
Putting lights and additional accessories
Finally, lights and other accessories are added to the pool. This includes things like underwater lights, pool heaters, and water features such as fountains and waterfalls. The pool is then filled with water and the finishing touches are added, such as landscaping around the pool area.
Conclusion
Building a pool is a significant investment and clearly requires a lot of research and preparation. It’s key to have a deep understanding of the entire process – even if you’re not doing it yourself – in order to communicate with your pool builder and ensure you get the pool of your dreams in your backyard.





Comments