You got a gallery filled with beautifully shot properties. But, a few days after uploading the photos for a listing, you’re not getting the traffic you want. The issue might be the photos.
It’s not that you didn’t get good shots of the interior or exterior. It might just be the format. Sometimes, you need to take photos for the listing thumbnails themselves.
Real Estate Photography Vs Real Estate Listing Photos
Listing thumbnails need to be engaging. Pulling people in is its primary purpose. People say never judge a book by its cover. This won’t be the case for real estate listing photos.
Your interior and exterior images might not be seen if the listing photos can’t attract clicks. Showcasing your listing at its fullest potential attracts more clients.
Luckily, there are ways to optimize listing thumbnails for engagement.
Real Estate Listing Photo Tips
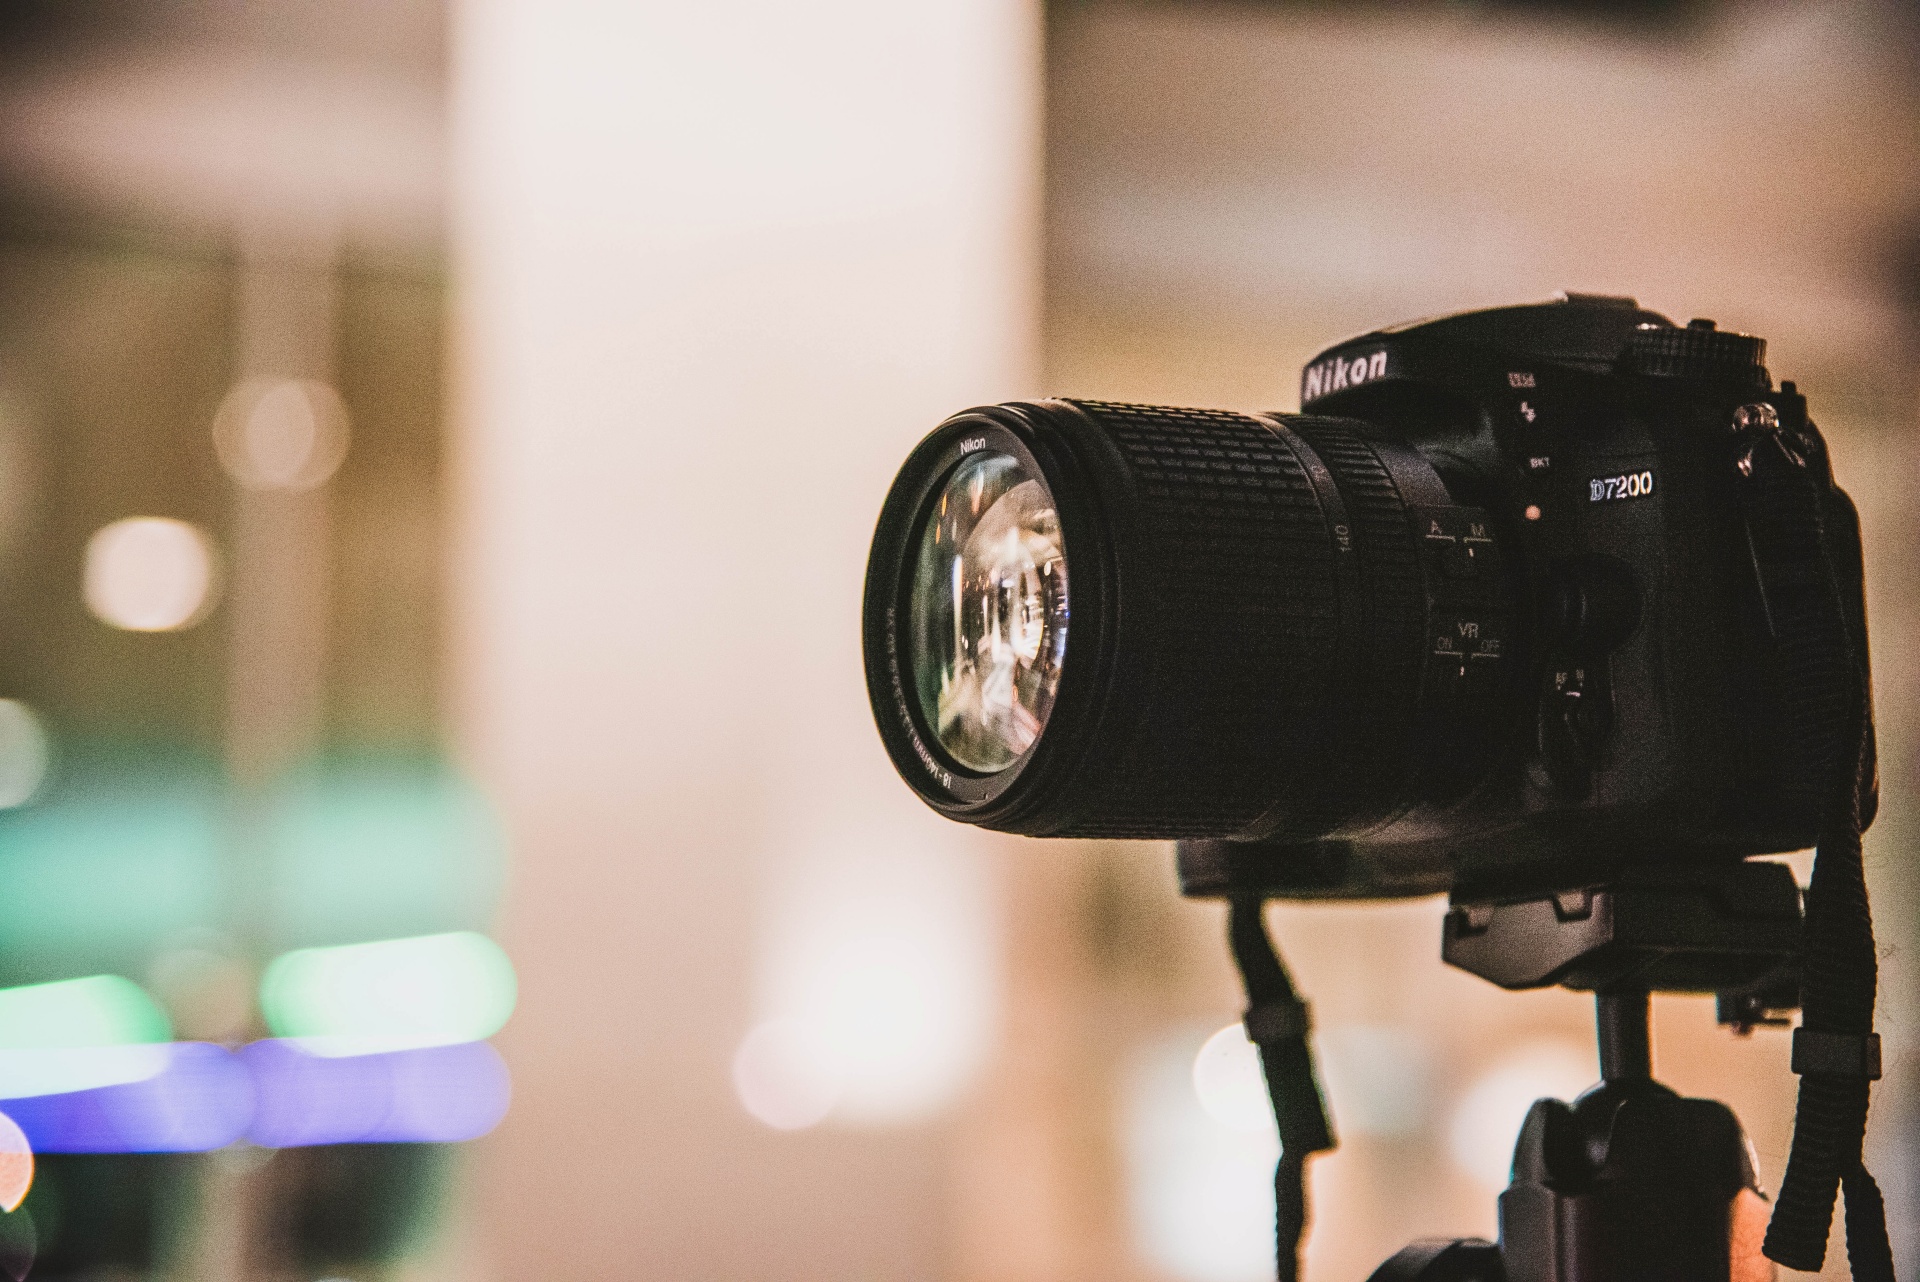
The days of looking at properties onsite aren’t gone—it’s just inconvenient. Everything is done through the comfort of our homes right at our fingertips.
Although convenient, it does skew the perception of potential buyers of what’s really there. A lot of good deals get ignored because of this. To avoid such issues, follow these tips.
Remove Distractions
Cleanliness is next to…more clients potentially interested in a property. It doesn’t matter if “it doesn’t look that messy when you see it personally”. What matters is what buyers see now.
Clean the kitchen sink, the countertops, and remove items that can be distracting. This includes chairs, shoes scattered on the floor, or toys.
But, if you’ve already got a good shot, you can use free object remover tools to cleanup pictures.
Stage to Engage!
Staging a room before clicking the camera shutter can make any space go from dull to engaging! As always, remove distractions. Take out anything overly personal and political.
This includes sports paraphernalia, political affiliations, or religious objects. Turn that room into a blank canvas. Then, stage the room as if you’re selling a lifestyle.
The space you stage should cater to your target audience. A room with a large table or open spaces can be perfect for a family. Make them imagine what it’d be like living there.
Always Use Natural Lighting When Possible
Natural light is your best friend. Camera flash and artificial lighting are good alternatives. But, going natural results in crisper, cleaner photos with a homey feel.
Make use of big windows. Open the curtain and start letting natural light in. Consider the time of the shoot and the weather. Both affect the intensity and quality of natural light.
Use the Rule of Thirds
The rule of thirds is a staple for every kind of photography. In real estate photography, we use it to highlight the features of a property we want potential buyers to focus on.
This good be the gardens, custom-built fireplace, or a newly installed solar roof. Using the rule of thirds is simple. Find what you want to focus on then position to fall on at least one of the middle corners of a camera’s grid line.
White Balance
The white balance setting affects the overall hue of your photos. In real estate, we want photos that look natural. The best white balance fits anywhere between neutral and slightly warm.
If you’re shooting with natural light, consider shooting during time-frames that are “white balance friendly” such as an hour after sunrise or sunset. However, this can be adjusted during editing.
Real Estate Photography Best Practices
Edit to Emphasize not Manipulate
Editing is meant to highlight the best features of a property. But, it should never be used to alter or manipulate. Let’s take these photos from the Reality Vs Expectation subreddit as an example:
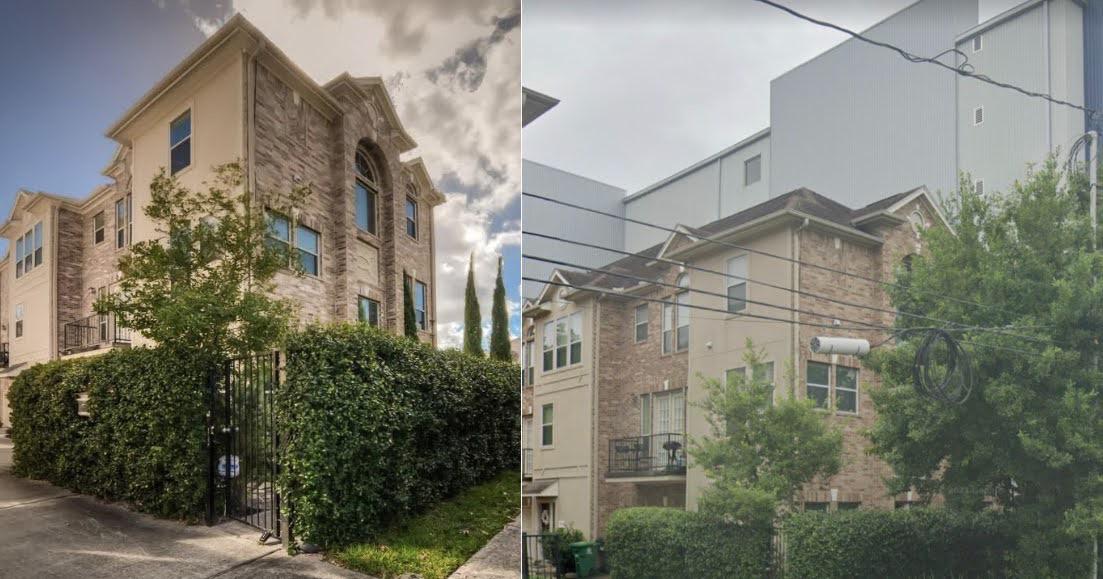
The user who submitted this photo noticed that the photo on the listing was completely altered. We get that we need to prop up the properties and make them presentable. However, this should never come at the expense of honesty.
Hire Professional Real Estate Photographers
Agents and homeowners with no real estate photography experience should hire professionals. Watching a 15-minute “Real Estate Photography” video on YouTube won’t cut it.
There’s a lot of skill involved in taking beautiful real estate photos not to mention the time it takes to set up the home for the perfect shot, edit, and optimize the photos for listings.
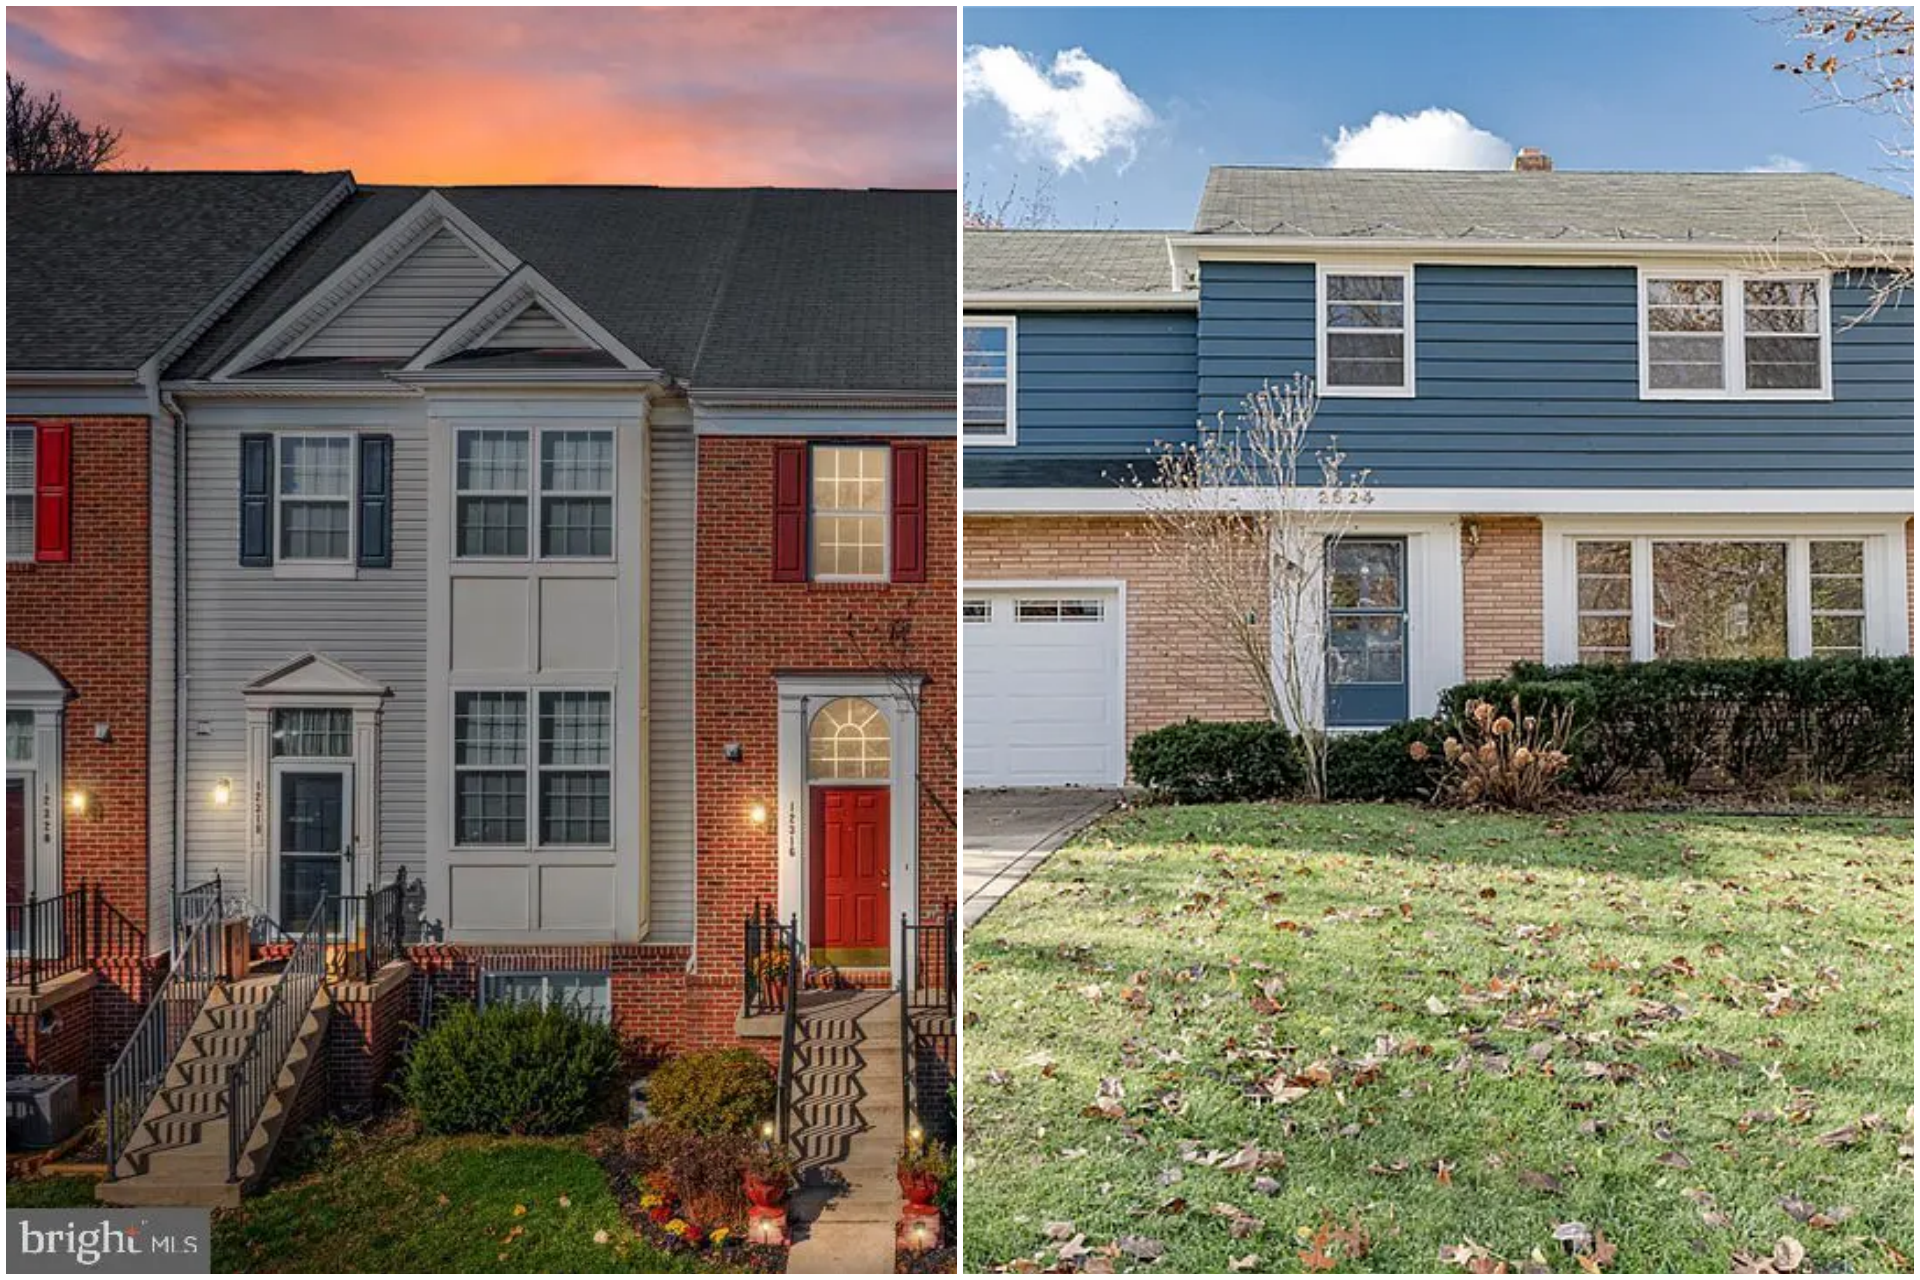
Here’s an example of a beautiful professionally taken real estate photo and a photo of a house.
Learn to Use Editing Software
If you’re really sold on taking the photos yourself, you need to learn how to edit your photos. Done right, it can help the colors of a property pop out resulting in a crisper and cleaner image.
The best tool you could go for will probably be something like Adobe Lightroom. The tool helps you adjust lighting, color, contrast, exposure, and more. Take your time with it, learn the basics, and experiment.
Key Takeaways
To make the most of your real estate listings, you need engaging listing photos. Before uploading your images, consider the following:
- Remove distractions.
- Stage your shot to make it engaging.
- Use natural light.
- Use the rule of thirds to help focus on a subject.
- Learn how to edit to emphasize and highlight the best features.








Comments