No matter where you live or where you work, your home is a sacred space. The longer you own a home, the more you want to invest both time and money into making it space you can relax and unwind. Being outside is the best way to do this as fresh air helps clear your mind and breathe deeply.
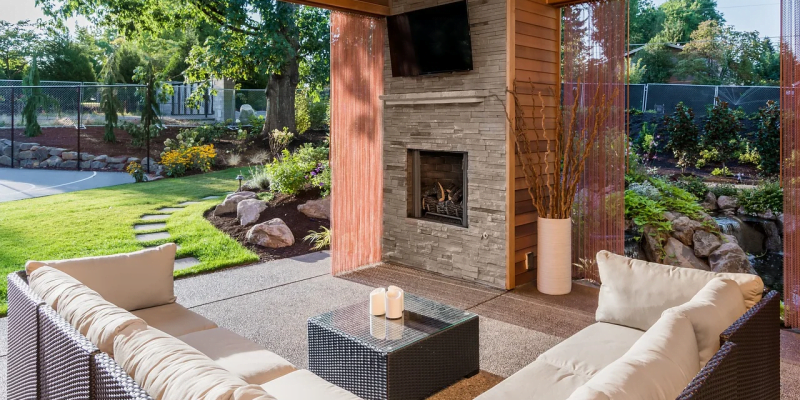
But many backyards tend to have wide open space without a lot of protection from the sun. This is where it would be helpful to have a enclosed patio cover to protect you from the elements and let you relax in the fresh air.
Designing and building a freestanding patio cover isn’t as complicated as it sounds when you have a plan before you start. You may think a freestanding patio cover might be harder to build than a cover that is attached to the house, but it is actually easier because of the freedom it allows with design and space.
When building a freestanding structure you don’t have to work with a structure such as a roof that is already in place and then have to work around its already established size and material. Instead, you can start fresh with both design, size, and material.
Make a plan, buy the materials before you start, and follow the tips below. You’ll end up with the patio cover that is the envy of the neighborhood.
Step 1: Get Inspired and Choose A Design
There is a reason blueprints exist and it’s because you need a plan before you build. The first step is to get out your measuring tape and decide on the size of your structure. You can also choose a 10 or 12 ft trampoline sheet if you have so that you can have a rough idea about the requirement.
If you have the space and are building both a patio and a freestanding cover, you want to build a patio that is at minimum a 10 by 10-foot area.
This size allows you to fit a table for four comfortably on the patio to dine al fresco. Before you get set on a certain size or design, check with your neighborhood association on whether or not you need to get a permit for building it. Once you figure out the size it is helpful to either take a picture of the space or lay down a string to mark where you plan to build.
Concrete is an ideal material to use for the foundation of the patio because it is durable and can be molded to the space and size you desire. If you are working with a patio foundation that is already there, simply measure the area and use that as your starting point.
When looking for inspiration, it is helpful to drive around your neighborhood to notice other patio designs and structures that are appealing to you. Although an eclectic look can always work, it is also helpful to think about choosing a material that is not only durable but also matches with the architectural design of your home.
Step 2: Choose A Material and Make A List of Supplies

https://storage.needpix.com/rsynced_images/house-3346909_1280.jpg
If this is the first time you have built a larger structure, you may want to hire some help or watch some instructional videos before you begin. Regardless of your experience level, it is helpful to follow a set of step by step instructions on how to build a freestanding patio cover.
It is also important to have the right materials before you start building. You will need to purchase items like quick-dry cement and bolts and pressure treated boards. If you go to your local hardware store they can help guide you on what to purchase before you begin.
You will need basic tools like a drill and screwdriver. You will also need a circular saw, but you can rent those instead of spending the money to only use it once.
Step 3: Take it Step By Step, Literally
It is possible to build a freestanding patio cover in a day, but if you want it done well it is worth taking some time to make sure it is a stable and sound structure. Once you have all of the materials you need make sure you have the steps for your plan.
There are a lot of different freestanding design options out there, so it won’t be hard to find a DIY plan but there are some general steps to take as you get started. You want to start with marking off the locations of the holes for the poles and digging at least a two-foot deep hole for each pole.
Then fill the holes in with concrete or gravel to help stabilize the structure and prevent moisture from rotting the wood over time. Next, you will add the boards for the roof. It is important to use galvanized screws when attaching the boards to help prevent rust.
As you add the joist beams to the main wooden posts, make sure to check that they are level. The last thing you want is a crooked patio cover. When you move on the structure of the roof, remember to have the rafters evenly spaced with at least a 12-inch overhang. Refer back to your blueprint or other patio builder’s plans often to make sure that your final structure is secure and stable.
Step 4: The Final Touch
After you have the structure done you can move on to adding the material you chose for the roof. If you choose a freestanding patio cover in the style of a pergola, you want to make sure that the wood you choose has been treated for outdoor use.
If you choose metal or tin as the roof material it will already naturally be prepared to weather the elements. Make sure as you add the materials for the roof that you have the right slope and size planned before fastening the materials together.
A Patio Cover That’s Built to Last

https://pixy.org/src/157/thumbs350/1577135.jpg
Before beginning a large project like building a freestanding patio cover, take some time to research and come up with a plan that works for your outdoor space.
Research and confirm the rules and regulations for your neighborhood before you invest time and money into certain materials or plans. Once you have the materials and plan in place, make sure to follow step by step instructions to ensure that your patio cover will be built to last.


Comments