As urban living spaces grow smaller, people continue to seek innovative ways to incorporate nature into their surroundings. One such ingenious method is the creation of window box gardens. These compact, horizontally designed planters attached to windowsills or railings provide a delightful mini garden that adds aesthetic charm and a touch of nature to any urban dwelling.
A window box garden, quite literally, brings the outdoors in. By cultivating an assortment of flowers, herbs, or small vegetables in a container placed on or under your window, you can enjoy the beauty and benefits of a garden without requiring expansive outdoor space. This method of gardening, epitomized by flower window boxes, beautifies the exterior facade of your home and allows for an intimate interaction with nature, even from the comfort of the indoors.
1. Choose The Right Box
Selecting the right window box is the first step toward building your window box garden. Ensure that it is sturdy and durable, preferably made from weather-resistant materials like fiberglass, metal, or plastic. This box will need to hold damp soil and plants, potentially under the full weight of rain or snow, and still stay securely attached to your home.
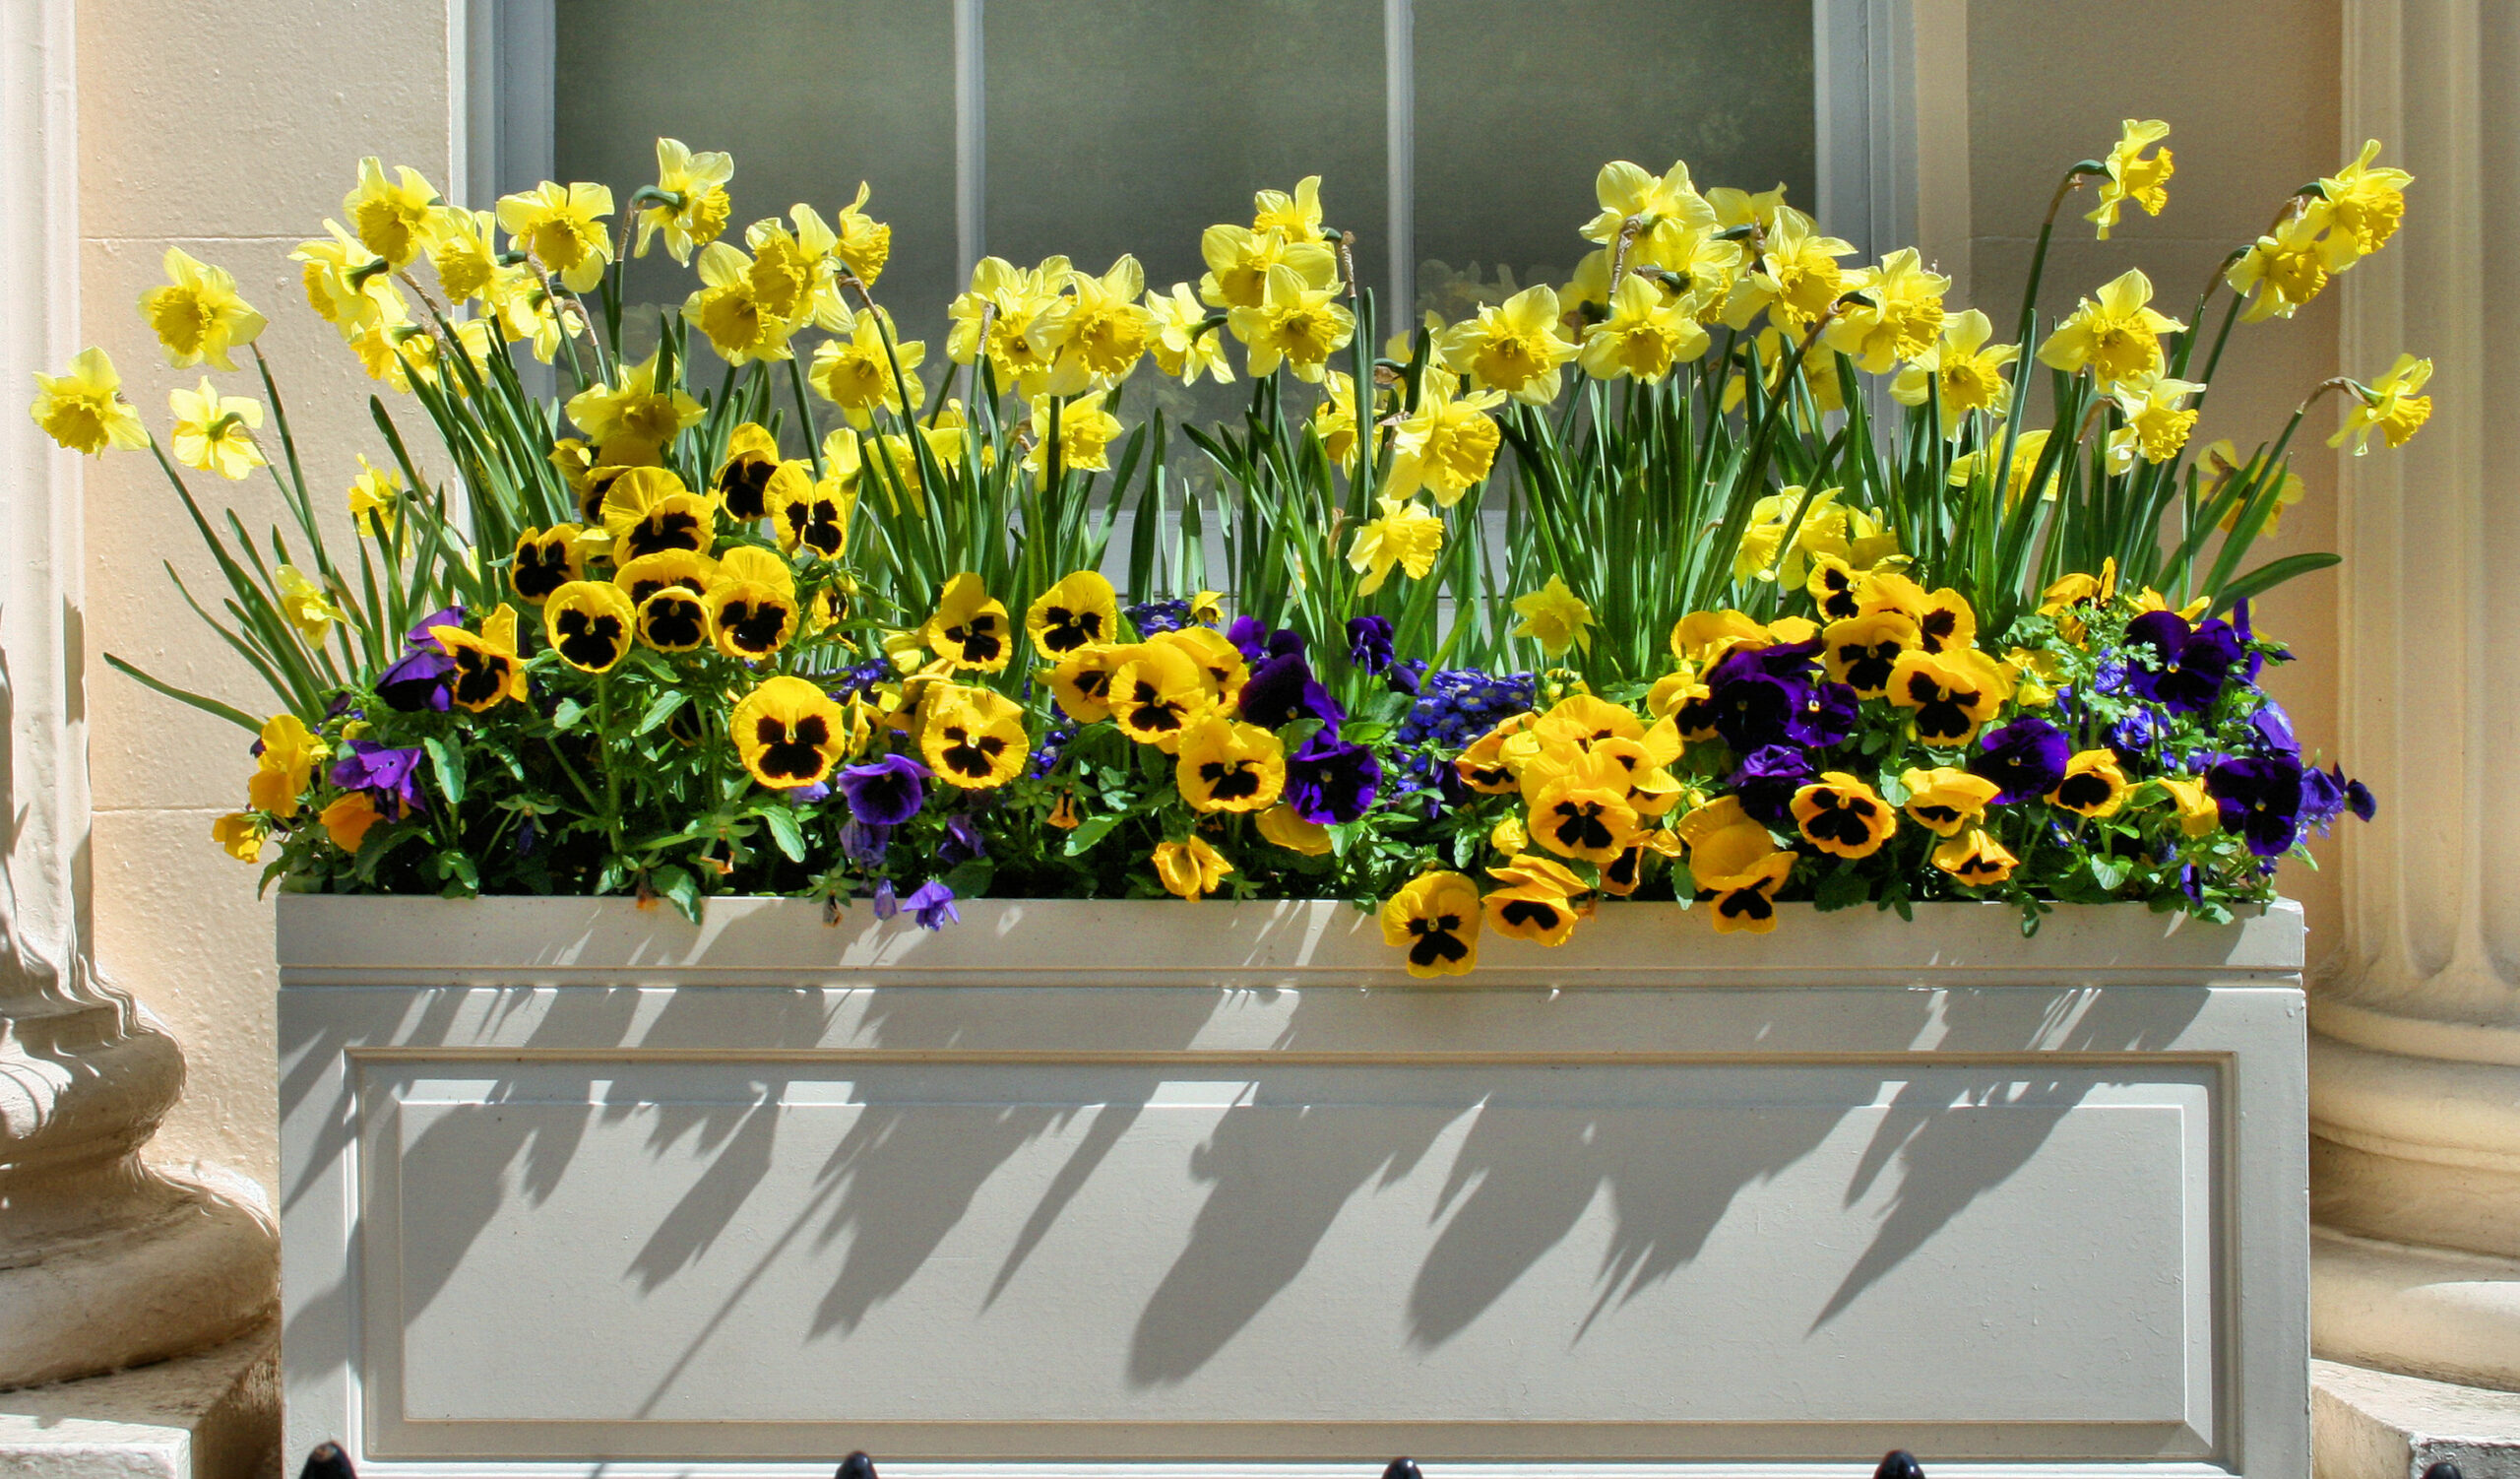
The box should also be deep enough for roots to grow comfortably, generally at least 6 inches deep and wide. The length should ideally match or be slightly shorter than the window’s length. Also, don’t forget to check if there are drainage holes at the bottom, which are essential for preventing waterlogging and promoting healthy plant growth.
2. Decide The Location
The location of the window box garden is not just about aesthetics but also about plant health. Consider the amount of sunlight this location receives each day. Is it full or partial, or does it remain in the shade?
Once you understand the lighting conditions, choose plants that are suitable for that environment. A south-facing window usually receives a good amount of sunlight, suitable for sun-loving plants, while a north-facing window, with more shade, would be better for plants that can tolerate lower light levels.
3. Choose Your Plants
Selecting the right plants for your window box garden is pivotal. The selection should be dictated by factors such as the amount of sunlight your chosen location will receive, the prevalent climate in your area, and the dimensions of your box. In addition, it is beneficial to select plants that share similar light and water requirements to ensure they can thrive together.
For an aesthetically pleasing result, consider a diverse mix of plant types. Integrate trailing species for a cascading effect, tall plants for structure, and vibrant flowering species for a burst of color. For an added practical touch, incorporating herbs and compact vegetables like lettuce or radishes can transform your window box garden into a functional source of fresh produce.
4. Prepare The Soil
The right soil mix can significantly impact the health and growth of your plants. A lightweight, well-draining soil mix is ideal for window box gardens. This usually consists of peat moss, perlite or vermiculite, and compost or organic matter for added nutrients.
Before adding the soil, place a layer of small rocks or pebbles at the bottom of the box to aid drainage. Then, fill the box about two-thirds full with the soil mix, leaving room for your plants.
5. Plant Your Selection
Begin by placing your tallest plants in the back or middle of the box. Next, add medium-height plants, ensuring they are spaced evenly. Lastly, add the trailing or creeping plants near the edges so they can cascade down the sides.
When planting, maintain the same depth as the plant’s original pot to prevent stressing the roots. While securing the plants, press the soil around them firmly but carefully to avoid over-compaction, which can hinder root growth. Additionally, remember to leave approximately an inch of space from the soil surface to the top of the box, facilitating efficient watering without spillage.
6. Water And Fertilize
Following the planting process, drench the garden until water seeps out of the drainage holes. This indicates that the water has reached the bottom-most roots. To prevent the box from drying out, establish a consistent watering routine that considers the needs of your selected plants and the prevailing climate conditions.
Fertilization is another key component of a thriving window box garden. Use a water-soluble or slow-release fertilizer suitable for your plant selection. Always adhere to the manufacturer’s instructions concerning dosage and frequency to prevent over-fertilization, which can be as detrimental as under-nutrition.
7. Regular Maintenance
Maintenance is key to a thriving window box garden. Regularly check for signs of pests or diseases, such as yellowing leaves or unusual spots. Prune or deadhead flowers as needed to encourage new growth and keep the box looking tidy.
During the hotter months, window boxes may require watering daily due to increased evaporation. Also, don’t forget to rotate the box occasionally to ensure all plants receive equal sunlight, especially if the box is located in a window that doesn’t receive uniform light.
Conclusion
Building a window box garden is a satisfying project that brings nature closer to your urban dwelling. By choosing the right box and location, selecting suitable plants, preparing the soil, planting, watering, fertilizing, and maintaining your garden, you’ll create a lush, vibrant addition to your home.
This mini garden, perched on your windowsill, will enhance your home’s exterior and provide a pleasing view and possible source of fresh produce, contributing to a healthier and happier living environment.







Comments