Fences are the bonny guards used for security reasons, enclosing an area to prevent escape or control access.
These could be barriers, railings, or other upright structures, which could again be various materials such as wood, chain, metal, composites, and many more.
Every type of fence has its qualities depending upon the area in which it must be installed.
On the one hand, where the fence does not allow outsiders to view our closed area, on the other hand, it also does not allow the insiders to have a view of the outside.
What is the Need for Fence?
Privacy and Security
Putting-on fences is ultimately an independent choice of people. It just helps in increasing home security and provide privacy. It reduces the risk of entering the outside, unwanted human force into the vicinity.
Visual Value
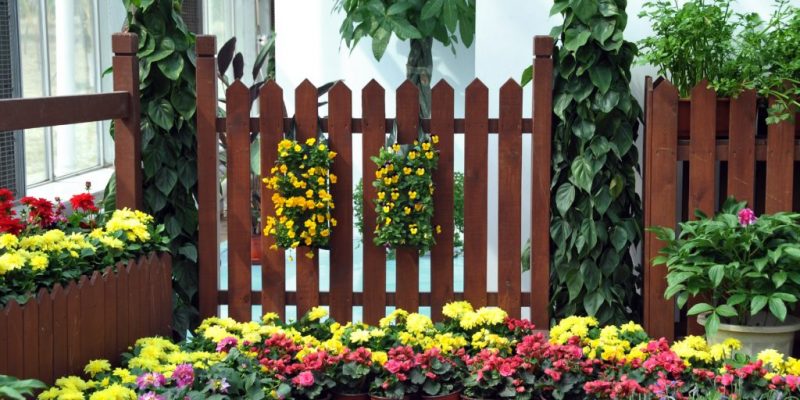
Fences also provide a catchy look to the place, making it more standardized if fences are skilfully planned and used according to the place’s themes and aesthetics.
Defining Boundaries
Installing fences could eliminate the confusion and Chaos related to the boundaries. One could be more confident in defining his/her property.
How to Build an 8-Foot Fence?
As mentioned above, fences are of various types and are used according to the area’s requirements.
Here, a wooden fence gate is described:
Before Installing a wooden fence, it is essential to make sure that the pressurized wood is used since pressurized wood lasts longer and resists moisture.
Resisting moisture is the main requirement any fence should accomplish. If not, the fence could be destroyed very soon and easily.
Steps to be followed:
1: Measure the Fence Posts
Walk along the area where you want to install the fence and mark the locations with paint. Also, the distance between the posts should be consistent. The lesser the distance between the posts, the more secure fence.
2. Dig Holes
Dig holes and pour small rocks and gravel into it to ensure the proper drainage of water and prevent the fence from getting destroyed.
A good rule of thumb must be followed here, i.e., to dig a hole at least 1/3 the depth of the overall post height. For instance, the post of 8′ requires a hole of 2.66′. The deeper the post is, the more stable it will be.
3. Set the Corner Posts
Insert the fence post at one end of the line. Do it at the other end simultaneously. Fill the pole with cement and make sure that the posts are on an equal level. Do not forget to fill the hole with stones and gravel to allow the drainage of water properly. Now, allow the posts to set for at least 24 hours and cover the posts with dirt.
4. Middle Posts
Once the corner posts are set, use a string between them to make sure that the middle posts are aligned in the same manner. The string acts as a guide between the posts. Now set the remaining posts in the same way, making sure that the posts line up with the string to make the fence straight.
5. Top and Bottom Rails
Now cut several 2inches of 4 inches of the board to make the top rail of the fences.
And similarly, the bottom rail of the fence. For a standard size of the fence, the bottom rail is usually set up 10 inches above the ground. This is the standard measurement that could be used in the case.
Drive nails on each side of the fence to make the rail stiff and secure.
6. Insert Pickets
Starting to the end, insert pickets with two nails through each rail. This makes the rails stiffer and more robust, which lasts longer.
7. Paint
Paint the wood in the desired colors, and here is the secured, healthy, and beautiful fence.


Comments