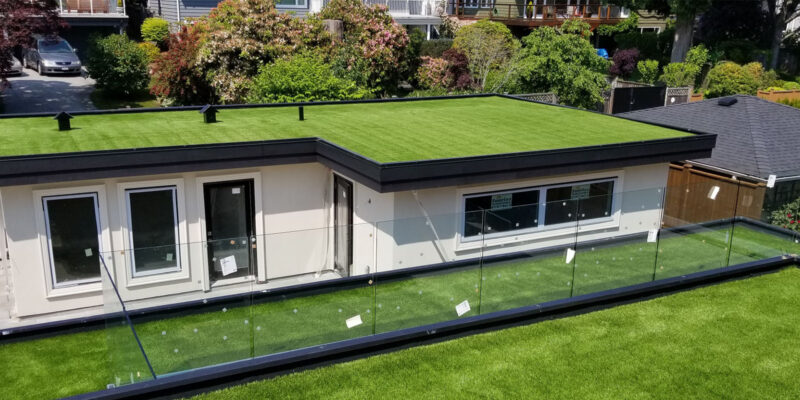
A great way to make outbuildings, garages, and sheds look brighter and more at home in the garden is adding artificial grass to a flat roof. Whether you are covering up a felt roof that’s commonly used on sheds, or are looking to update a balcony or roof terrace, you will have the best results by following this guide to creating an artificial roof.
Requirements
You will require the following for the installation of your artificial grass roof:
– Measuring tape
– Sharp utility knife
– Artificial grass adhesive and a cartridge gun
– Joining tape (if you need to join multiple pieces of glass)
– If you’re working with an uneven surface, you require an underlay or shockpad.
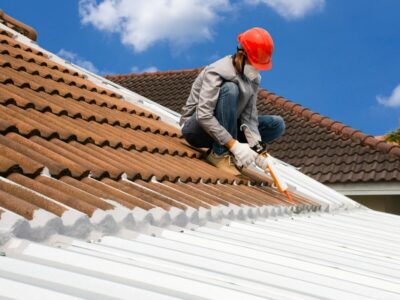
Once you have gathered all your equipment, you will have to choose, measure up, and order the artificial grass and all that you need ahead of the day of installation https://www.rubberroofingdirect.co.uk/epdm-adhesives-sealants.html.
To determine the amount of artificial turf you should order for your green roof, measure the roof’s width and length. Next, get the total surface area by multiplying the 2 numbers. Divide the number you get in the previous step by the width of the artificial glass that you have selected to find the minimum length needed to cover this area.
To ensure that you have a good fit and easy installation, make sure that you allow at least 10 cm excess in each direction or you may struggle to get a professional finish. For example: if the artificial turf you have selected is cut from rolls that are 2m wide, you would require about 5.2m of grass to cover a 10m2 roof to allow for 10cm of excess in each direction.
How to Lay an Artificial Turf Roof
You can start installing the artificial grass roof once you have the artificial grass and tools ready:
1. Make sure that the roof to be covered is in good condition and structurally sound. Check to ensure that it isn’t cracked or affected by rot, otherwise you risk damaging the roof further during installation.
2. If the roof is tiled, slatted, or uneven, you should install a layer of underlay, shockpad, or board to level out the surface thus creating an even finish.
3. Determine where you need to cut the artificial grass to cover the entire roof, ideally on a sheet of paper before you start cutting. You should only start cutting the turf to size and place it in situ once you are confident that you have got this right. When cutting the artificial grass, ensure that you cut along the lines of drainage holes in the backing material to ensure that the grass doesn’t start to unravel.
4. Fold back the grass along edges where any grass pieces meet once you are satisfied with the fit, to ensure that there’s no gap between the 2 grass pieces and the black backing material is actually facing up along both pieces of the turf.
5. Roll out a strip of joining tape along the full length of the join between the two grass pieces, with the shiny side down and the sticky side up. A thin layer of artificial grass adhesive should then be applied along the length of the tape and fold the grass back down, firmly fixing the black backing to the tape and glue.
6. If you are satisfied with the position and fit of the artificial grass, and all the joints between each piece have been secured, roll up your turf to one end and then lay even beads of artificial grass adhesive around the roof’s perimeter.
7. Carefully unroll the artificial turf, ensuring that the edges properly line up with your original fit. Lift up the edge that you rolled the grass away from and apply a bead of adhesive along this edge and then press the turf back into position.
8. After the adhesive has dried and the turf is secured firmly, use a bristle brush to give it a quick brush and raise the pile as well as lift any flattened grass.
Your artificial grass roof will be secured firmly in place after a few hours and will be looking fresh, green, and natural. You can now sit back, relax, and enjoy all your handiwork, without the fuss of having to maintain a green roof.



Comments