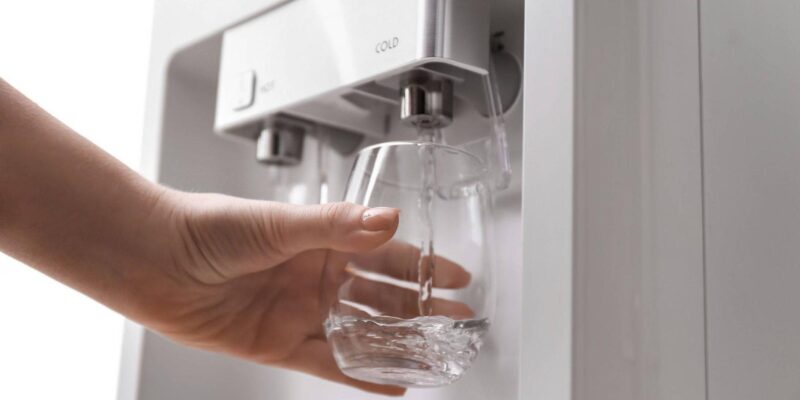
We have all experienced the lovely moment when you sip a glass of cold water directly from your trusty dispenser to quench your thirst. However, water dispenser maintenance is required to function at its peak and keep your hydration game strong, much like any other equipment. Let’s dive into the expert world of maintaining and cleaning to ensure your water dispenser consistently dispenses tasty, clean water.
The Essential Cleaning Kit
Before we get started, let’s gather our weapons to embark on the best way to clean a water dispenser:
Distilled White Vinegar or Mild Dish Soap
Nature’s way of saying, “I got this.”
Baking Soda
A gentle scrubber for those stubborn stains.
Bleach
For those deeper cleans, handle them with care.
Soft Sponges and Cloths
No harsh scrubbers; we’re cleaning gently here.
Long-handled Brushes (optional)
For the nooks and crannies that need extra attention.
A Bucket
For catching any stray water and making cleanup a breeze.
Tackling the Countertop
For those compact countertop wonders, follow these steps:
- Unplug the unit and give it some breathing space by removing water bottles or filters.
- Use a moist cloth and a mild soap solution, and thoroughly clean the outside, paying special attention to the buttons, drip tray, and spout.
- Remove any detachable parts from the spout and let them soak in the vinegar or cleaning solution. When cleaning the interior, a long-handled brush will be your greatest friend. Just remember to rinse everything well.
- Clean the drip tray and reservoir like you mean it. Stubborn grime? Mix baking soda with a splash of water, scrub gently, rinse well, and let everything dry out.
- Put back the filters and water bottle like a puzzle master. Plug the unit back in and let water flow through both taps for a few minutes to remove any cleaning remnants.
Taming the Fridge Beast
Built-in fridge dispensers require slightly different attention:
- Find the dispenser’s water line shut-off valve and give it a twist to the off position.
- Remove the ice bucket and any removable dispenser parts; they’re in for a soak in the vinegar or soap solution.
- Wipe down the exterior with a damp cloth and a mild soap solution.
- For the dispenser opening, employ a long-handled brush dipped in your cleaning concoction to reach inside. Rinse, dry, and put everything back in its place.
- Wipe down the drip tray and its surroundings.
- Replace the removed parts and the ice bucket.
- Twist the water line shut-off valve back on and let the water run through the dispenser for a bit to flush away any leftover cleaning magic.
Office Cooler Oasis
Keeping your office water cooler in tip-top shape is an unsung hero move. Here’s how:
- Unplug the cooler and cut off any water lines for a mini spa day.
- Empty the reservoir like you mean it.
- Fill the reservoir with a bleach-water combo, let it chill for 30 minutes, and then drain it out. Rinse with clean water.
- Wipe down the exterior with a damp cloth and mild soap solution.
- Show some love to the drip tray and the space around it.
- Put everything back together, reconnect the water lines, plug the cooler back in, and run water through both taps for a cleansing finale.
Pro Tips for Shining Success
Regular Maintenance is Key
Monthly for countertop models, fridge water dispensers, and office coolers every two to three months.
Filter Changes are Non-Negotiable
Follow the manufacturer’s instructions for optimal filtration and taste.
Occasional Bleach Love
Every three to six months for a deeper clean, especially if you sense any funky taste or odor.
Drip Tray TLC
Regularly empty and clean to avoid surprises and maintain a mold-free zone.
Safety First
Keep it unplugged during cleaning to dodge any electrical mishaps and accidental water symphonies.
These practical instructions, along with proper hygiene habits, will guarantee that your water dispenser remains in excellent working order and continues to provide clean, revitalizing water whenever needed. Ultimately, a happy dispenser equates to happy hydration, and a clean dispenser is a happy dispenser!


Comments