
2025 is the year when things that once seemed impossible have become the norm. Building a weather-resistant, durable fence that can handle soil shifts is no longer fantasy — it’s reality. Thanks to new materials and modern installation methods, fences now last longer, even in extreme weather conditions caused by climate change.
Whether you’re installing a fence for security or simply for curb appeal, strength is essential. That’s why we’ve created this guide — filled with reliable, proven steps to help you build a strong and long-lasting fence in 2025, especially in areas with unpredictable weather.
Step 1: Choosing the Right Materials
One of the most critical factors in fence longevity is using high-quality materials. In high-moisture regions like Washington state — where homeowners frequently face fence rot — it’s vital to choose materials that can solve that problem.
Top Materials in 2025:
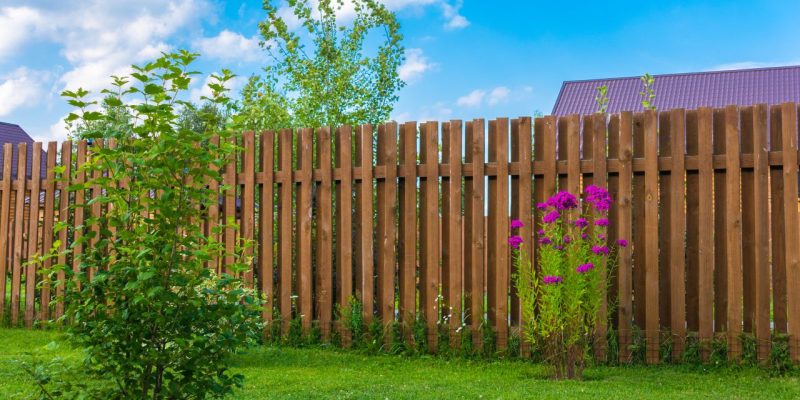
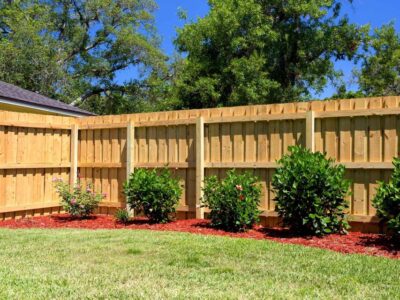
- Pressure-Treated Wood: Still popular for its natural look. But by itself, wood isn’t the best for wet climates. So why is it still a top pick? Because two key treatments can increase its durability up to 20 times:
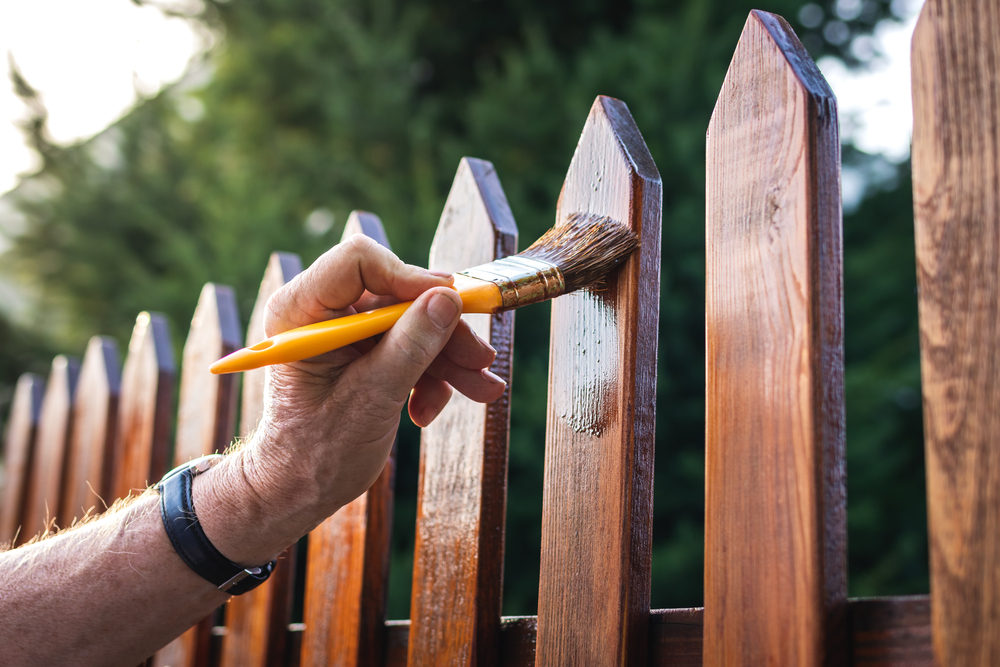
- Special Treatments or Paint: Many experienced contractors apply commercial treatments, or you can make your own at home — like the “30 Second Cleaner.” Mix 10 liters of warm water with 1 kg of oxalic acid. This solution removes stains and restores wood, improving durability. IMPORTANT: Always wear gloves and eye protection, regardless of whether you’re using store-bought or homemade solutions.
- Simply Choose Cedar: Naturally resistant to moisture and insects thanks to its oils and scent. (It smells great to us, but bugs hate it!) Plus, cedar is also one of the most beautiful materials.
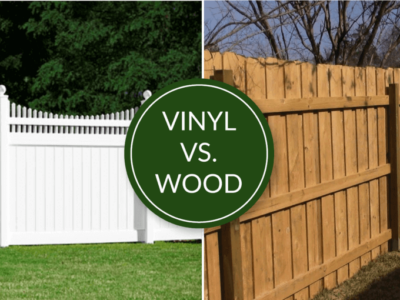
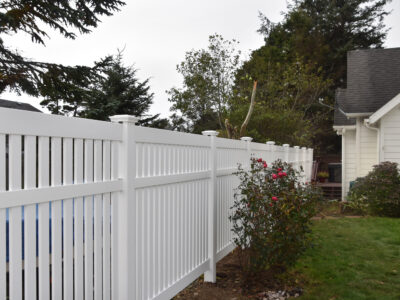
- Vinyl Fencing: If you want a fence with minimal maintenance, vinyl is a great choice. It doesn’t require treatment — it’s moisture-, mold-, and mildew-resistant by default. The only downside: in extremely cold climates, it can become brittle, so extra reinforcement may be needed.
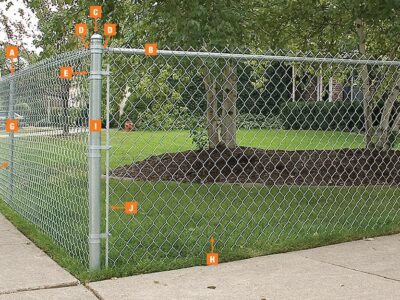
- Galvanized or Painted Steel: Perfect for long-term durability in windy or coastal areas. Modern coatings protect steel from rust, even in rainy environments.
- Composite Materials: A newer mix of wood and plastic. More eco-friendly than vinyl and equally moisture-resistant. It also performs better than wood in freezing temperatures.
Pro Tip:
Avoid buying materials from big box stores — their quality is usually lower. Instead, find a small local supplier or work with a trusted fence company that partners with one.
Step 2: Preparing the Ground and Foundation
Even the best materials won’t help if your foundation is weak. Proper ground prep ensures your fence won’t lean, sink, or shift — especially in soft, wet soil.
Foundation Tips:
- Post Depth: Dig at least 30 inches (75 cm), or below the frost line in colder regions. Shallow posts are a major reason fences fail.
- Gravel Base: Add 2–4 inches (5–10 cm) of gravel at the bottom of every hole. This helps drainage and keeps wood from rotting.
- Fast-Setting Concrete: Ideal for rainy areas. It reduces moisture exposure and sets posts quickly. Slope the top of the concrete away from the post to direct water runoff.
- Leveling and Bracing: Keep each post perfectly vertical while the concrete sets. Even small tilts become big problems later.
Contractor Insight:
In wet zones, we often increase the gravel base to 10 inches (25 cm) to reduce long-term moisture buildup around the post.
Step 3: Frame — Posts, Rails, and Reinforcement
Once your foundation is secure, it’s time to build the frame: vertical posts, horizontal rails, and extra supports for added stability.
- Post Spacing: No more than 6 to 8 feet (1.8–2.4 m). Closer spacing reduces sagging and helps resist strong winds.
- Hardware Matters: Use galvanized or stainless steel fasteners. These won’t rust in wet conditions.
- Extra Rails: For fences taller than 6 feet (1.8 m), add a middle rail. This prevents boards from warping over time.
- Diagonal Bracing: On sloped or unstable ground, use angled reinforcements between posts for added strength.
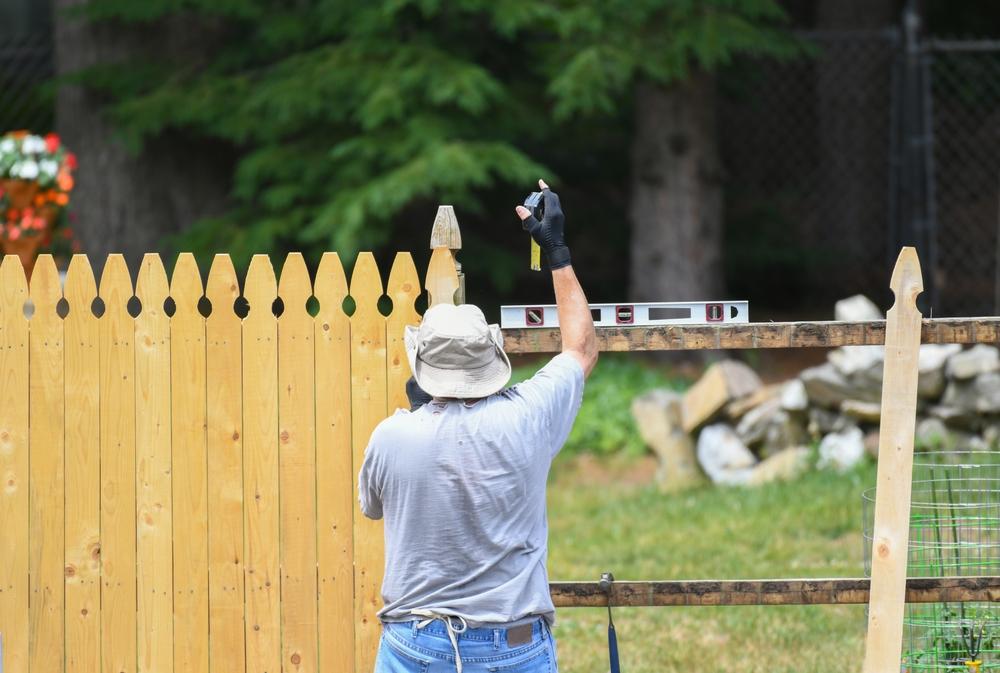
Step 4: Assembly and Finishing
With the frame in place, it’s time to build and protect the fence from the elements.
- Panel Installation: Attach boards or panels using rust-resistant screws. Avoid nails in wet climates — they loosen over time.
- Level Checks: Use a level and string line to keep everything straight.
- Wood Protection: Apply a high-quality exterior stain or sealer with UV and water protection. Reapply every 2–3 years.
- Vinyl & Composite Care: Require minimal upkeep. Occasional rinsing or pressure washing (on low) is enough.
- Metal Fences: Repair any scratches or damage with rust-preventive products to extend the lifespan.
Maintenance Tip:
After installation, walk the full length of the fence and gently test each section. Catching weak spots early can prevent major problems later.
Step 5: Long-Term Maintenance Plan
Even the strongest fence needs occasional care. Regular inspections and simple upkeep can extend its life by many years.
- Seasonal Checks: Every few months, look for leaning posts, rust, or loose fasteners.
- Cleaning: Rainy regions cause moss and mildew buildup. Mild soap and water or a light rinse works well.
- Re-Sealing: Wooden fences should be resealed every 2–3 years or as needed.
- Tighten Hardware: Temperature swings can loosen screws. Regularly check and retighten them.
- Soil Awareness: After heavy rains, soil may shift. Refill gravel or dirt as necessary to maintain stability.
Set a Reminder:
Mark your calendar in spring and fall to walk the fence and do quick checks. A little effort goes a long way in preserving value and performance.
Final Thoughts
Fence installation is a serious task. Most homeowners don’t have the tools or experience — and that’s totally okay. That’s why it’s usually best to hire a professional fence installation company in your area. A reliable crew will ensure it’s done right, with quality and a warranty.


Comments